Wooden steps! Perhaps, you’ve seen them or probably used them in one or another, fallen in love with them. And now you are contemplating installing them somewhere within your home. Not a bad thing at all! After all, knowing how to build freestanding wooden steps is sensibly comfortable and effortless depending on what you are looking to achieve. All you need is some planning, 2nd-grade math, and of course a little bit of elbow grease.
Ultimately, the construction should not only be long-lasting and robust but also aesthetic enough to complement and enhance the splendor and glamor of your home. With that being said, brace yourself for the undertaking and have a close look at what you need and what should be done.
Section 1: Tools and Supplies
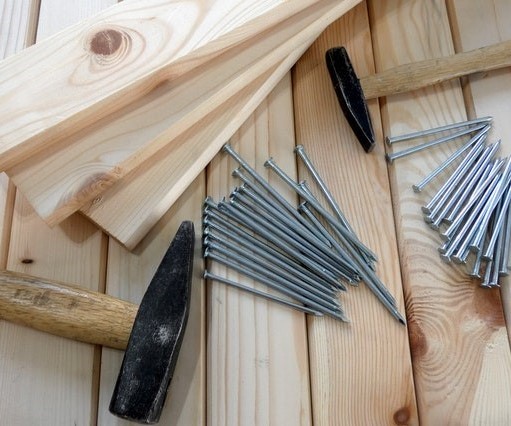
In any DIY undertaking, the first and foremost thing you need to do is gather the supplies and tools necessary to begin and complete the process seamlessly. After all, it makes no sense to begin something only to leave it hanging simply because you lack a certain tool or supply. So, what will you need for this construction?
Tools
- Hand saw
- Hammer
- Tape measure
- Pencil
- 16d nails
- Farming square
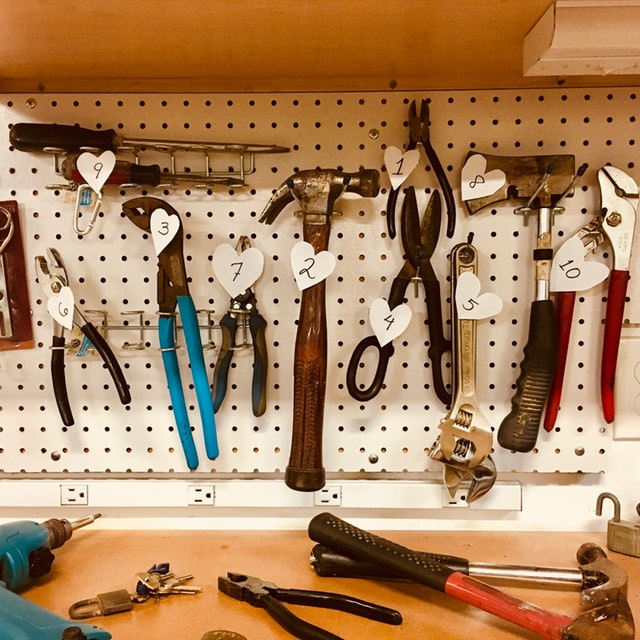 This list includes essential tools that will see the entire process progress seamlessly. However, there are others that you might want to take into consideration. Though they are not essential, they will come in handy in one way or another.
- Nail gun
- Jigsaw
- Circular saw
- Board bender
- Chop saw
- String line
Now that we already have the necessary tools, let’s have a look at the supplies required. The most essential one is wood.
Supplies
- 6 pieces of wood measuring 2x4x16, 2x12x16, and 4x4x16. They’ve got to be straight and perfect without cracks. Otherwise, they can potentially result in problems as the construction process progresses.
Section 2: Calculations and Measurements
With the necessary tools and supplies ready, it’s time to go ahead and do some planning. This will involve doing a few measurements and calculations.
- Determine the number of steps you need to build
In this section, you are going to learn how to make reliable estimates. However, if you prefer using exact measurements, Google has a feature where you can key in numbers and get exact values. Here’s my method: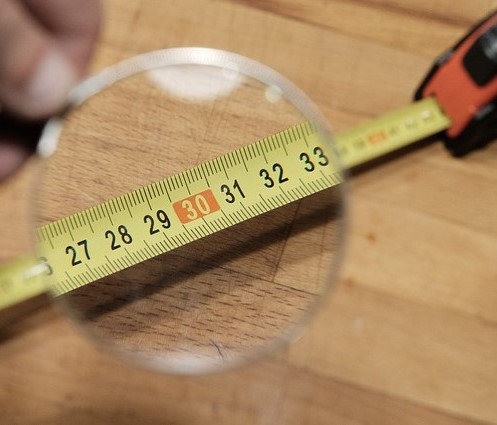
Before you can proceed with anything else, measure the height – from the ground all the way up to where the stairs should lead.
- Divide your value by 7 – which is the typical height of a normal stair step. For instance, if you find the height to be 84 inches, divide it by 7. The division gives you 12 which is an estimate of the number of steps you will need to build.
NB: The normal height of a step is 7 inches while regular tread depth should be 10.5 inches. If you used Google to do precise calculations, the values should be a little bit different. For instance, you might get step height and tread depth to be 7 ¼ inches and 10 5/8 inches respectively.
- Stringers
Considering that steps are susceptible to frequent use, stringers will be necessary to give the entire construction structural strength. Our steps will require 3 stringers and each will be fashioned from a single piece of wood measuring 2×12 inches. Those providing structural strength on the inside should be 36 inches wide. Therefore, two 2x36x36 inches planks of wood will be necessary to function as the footer and header.
- Legs and handrails
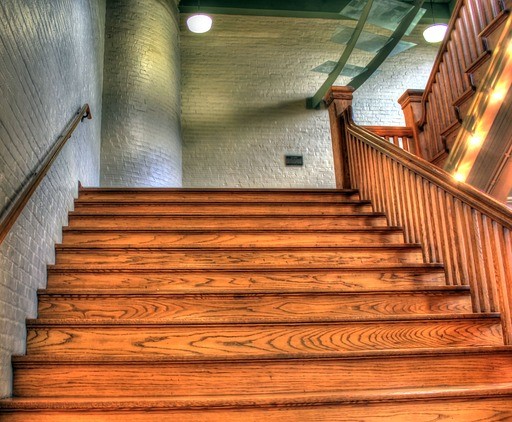 Legs should be constructed from 2×12 pieces and don’t forget to give them an inch overhang for attachment to each side of the overhang. They will also have a 2×6-inch piece of wood running across the bottom to keep them uniform and spread out. Handrails for every staircase are custom so their design entirely depends on your needs and preferences. However, you can use a 2×6 inch piece for the baluster at around 48 inches then later cut it down to the required height.
NB: When cutting legs that will be running vertically on the ground, ensure that you are in tandem with the Pythagorean Theorem so that you can get it right when it comes to length, height, and the diagonal height of the staircase. Therefore, keep in mind that a2+b2=c2
Section 3: Set Up and Layout
Now that you have an idea of the number of steps and the respective measurements for each, it is time to scale up the process and set up the framing square. Having stair gauges at hand will be helpful more so when it comes to avoiding errors when laying out the stringers. If you don’t have stair gauges at hand, it is strongly advisable to have someone hold the square for you as you make markings. If you don’t have access to stair gauges when starting the construction, don’t ge tempted to introduce them later because by so doing you can potentially throw your measurements way off. Bearing that in mind, let’s see how stringers should be laid out.
- Laying out the stringers
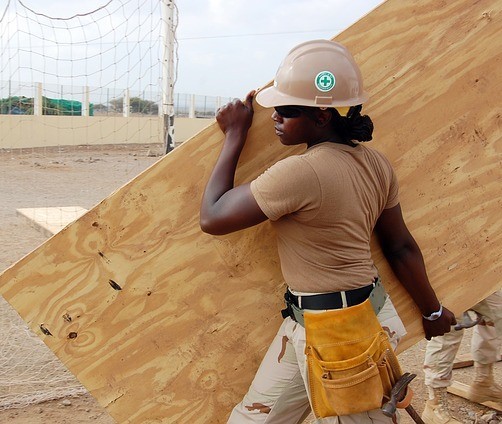
- Get your framing square and hold in a position where the 7-inch side is on the left and the 10.5-inch side is on the right.
- On this position, place it on the 2×12 plank going as far as you can towards the left. The idea here is to style and fashion the outside framing square.
- Move the 7-inch side all the way across the plank marking at 7-inch intervals as you move to mark the step sizes. This will make the top step.
- After that, alternate the 7-inch side with the 10.5-inch side and make your marking until the desired number of steps is reached. This is to make markings for the treads.
- This process should also be used for the bottom step, but the tread length should be moved across instead of upward.
Since there will be a 2×6 plank at the bottom and top acting as the footer and the header, you have to make those markings too, and cut them to desired heights and lengths so that the entire construction can sit on the level ground.
Specific measurements for the 2×6 are 1.5×5.5. Therefore, mark that on the bottom and top of the step all the way down the back of the 2×6.
Step Four: Cutting
When making cuttings using the circular saw, don’t get tempted to cut beyond the lines you’ve already marked. Instead, use the handsaw to remove the little bits of wood that remain attached. This might be infuriating but it is very important especially when it comes to ensuring the stability and levelness of your steps. 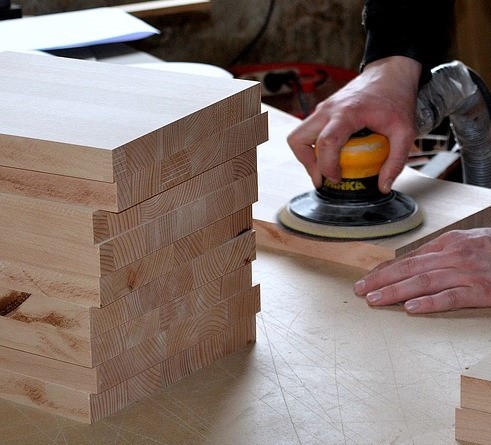 Besides, I would like to repeat once again that the wood you use should not have cracks and this is for a good reason. Cutting wood applies a lot of pressure on it and in case it has even the smallest cracks, it is highly susceptible to splitting. This will compromise the entire undertaking since you will have to repeat the entire process of making measurements and markings.
When cutting threads along the footer and header, you can have another one reduce the stringers and perhaps one more work on the balusters and legs. If you do not have the privilege of one or two extra hands, there is no need to worry. You still successfully carry on with the construction on your own.
If you want to ensure your safety while cutting and prevent shifting while feeding, you may want to consider utilizing a reliable table saw sled. This tool can also help you improve your crosscut accuracy and make repetitive cuts easier and more manageable. Since you can do the cutting more easily, it can help you work faster too.
- Cutting let-ins
Let-ins are 4×4 cutouts cut into the legs so that boards can be attached seamlessly and strongly. Ensure that only half of the legs’ thickness is dug out so that their strength can’t be compromised. When working on the legs the measurements are as precise as they can get when cutting let-ins.
Section Five: Assembling It All
-
- Position the footer and the header on the outer stringers then place the middle one between them.
- After they are in position, drive in at least 3 16d nails into each. This can be done easily when the parts are placed upside down but be sure not to break any of the pieces. Otherwise, you will have to repeat the entire process of measuring and cutting new ones.
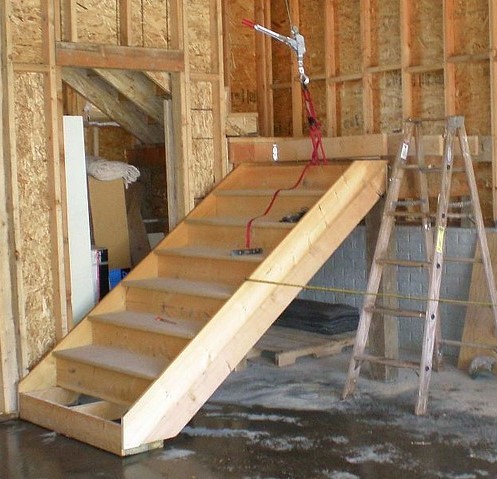
- Flip the entire construction into its normal position to layout the stringers and treads.
- Remember that 1-inch overhang is suggested leaving on each side of the stringer? Well, here’s how to use it. Attach one of the sides with the right overhang then nail the second one on the other and try getting as close as you can.
The board bender will come in handy here but be careful to avoid breaking the stringers. After attaching the middle stringer, the middle one will be very easy to attach. However, don’t forget to drive in at least 3 nails into each stringer.
- Attaching the legs
When attaching the legs, you might need an extra hand to help you hold the legs in place when nailing and attaching them. If you can’t, scrap blocks will come in handy. This section should be carried out tactfully and carefully because they determine the amount of weight that your freestanding wooden steps can hold.
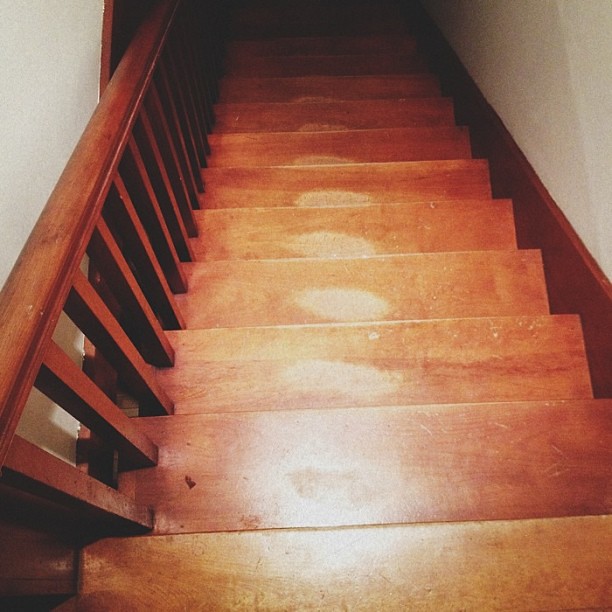 Put around four on the side of the leg that touches the header and his stringer and about 2 through the top of the tread.
- Place 4 on the side of the leg in contact with its stringer and 2 at the top of the tread.
- As you position the legs into place, it is advisable to have the face inwards rather than outwards for the sake of how the steps look. This is more of an aesthetic than a functional move.
- When attaching the boards to the let-ins, drive one nail from the side and another one from the opposite side. 2 nails should be driven on each side for the sake of overall structural strength.
Section 6: Final Touches
After the structure is complete, get it in an upright standing position. Inspect it to identify flaws, misgivings, or weak points that might require additional strengthening. Even if there is nothing, a few more final touches will improve its strength.
- Bracing
While on its standing position, you can go ahead and attach braces on the back of the vertical walls. This is just one of the many ways of boosting the step’s strength. To achieve this, use the process below:
- Using a tape measure, establish the length of the wood necessary to build braces.
- Mark and cut it according to the values you get and then nail it across- from one leg to the other.
- Alternatively, you can use a 2×4-inch plank and place it across the legs. Mark end-to-endpoints and attach them.
- Handrails
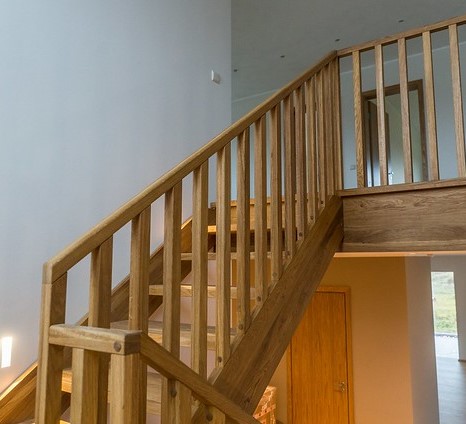 The simplest way to add handrails is by attaching a baluster to the tread. However, this doesn’t look appealing to the eye since it can appear somewhat sloppy. A more complex but elegant way is cutting into the tread and nailing the baluster into the stringer. It is not only aesthetically appealing but also improves the strength of the entire structure. The number of necessary balusters you will need highly depends on the number of steps you have built. Therefore, the more steps there are, the higher the number of balusters you will have to build.
- After designing and constructing the balusters, attach them.
- By the use of a tape measure, estimate and mark the ideal height of the handrail. Measure from the bottom to the top of the baluster.
- And when cutting the wood, don’t forget at least 2 inches for the overhang.
- Cut the 2×4 planks and nail them on one side making sure that they are on the outer side of the balusters.
Final Word
By now, you should be done! It’s time to carry your structure and move it to whichever place you intend it to be.


