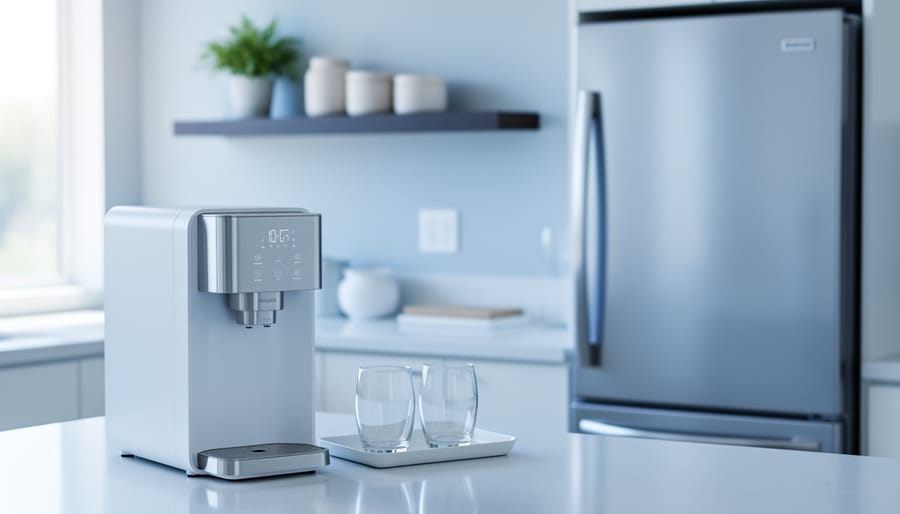
Setting up a home drinking water station takes about an hour, needs no special skills, and gives you cold, great-tasting water on demand. The short version: pick a dispenser that fits your space and budget (a countertop model for small kitchens, a freestanding unit for families, or a filtered line-fed cooler if you’d rather skip the heavy jugs), find a spot near an outlet with a little breathing room on every side, then plug in, fill, flush, and you’re pouring.
That’s really all it is. The real difference between a station that gets used daily and one that collects dust is a few small decisions made upfront. Where does it sit so it feels like part of the room instead of an afterthought? How do you keep the water tasting crisp week after week? A cooler wedged beside the fridge with a stray cord dangling is a very different thing from a tidy little hydration corner with a tray, a few glasses, and maybe a slim shelf above it.
This guide walks you through the whole process in order: choosing the right type, picking the perfect spot, gathering what you need, staying safe, setting it up step by step, and keeping it fresh. We’ll also share styling ideas so your water station looks as good as it works.
Picking the Right Cooler or Dispenser for Your Home
Bottled, Bottleless, or Countertop: Which Style Fits Your Life?
Let’s start with the big three, because the style you pick shapes everything else about your station.
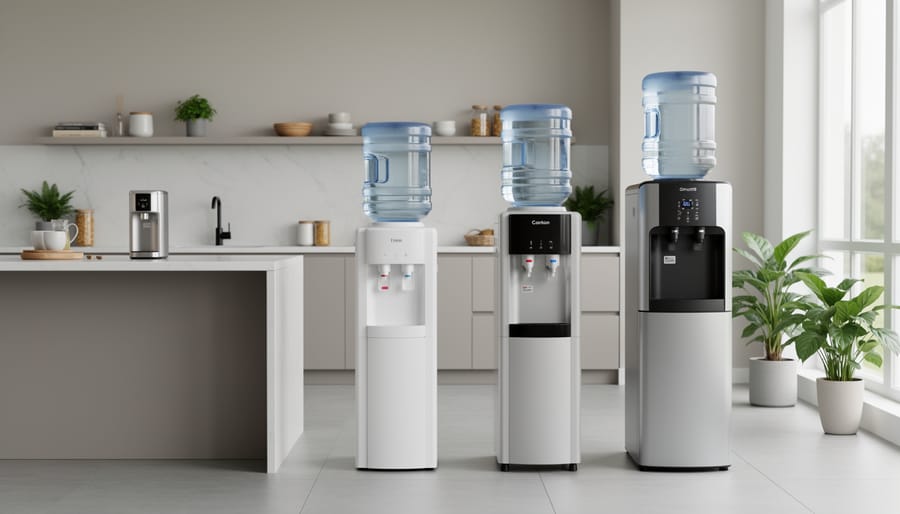
Bottled models take those big 18-litre jugs that sit on top (or tuck inside a cabinet at the bottom). They need no plumbing, so you can park one anywhere with an outlet. The catch is the lifting. A full jug weighs about 18 kilos, and a family of five can empty one every couple of days. If you like the convenience of someone bringing refills to your door, a service like Pacific Springs water delivery takes the heavy hauling off your plate.
Bottleless (plumbed) models connect straight to your cold water line and filter the water as it flows. There’s no lifting and no running out at 9pm on a Sunday. The trade-offs are an upfront install, a nearby water line, and filter changes every six to twelve months. For that busy family of five, this is usually the winner. The ongoing cost per glass drops fast once you’re pouring dozens a day.
Countertop units are the compact option, often with a smaller tank you refill by hand or a small bottle. They suit a couple in a small apartment perfectly. You get cold or hot water on tap without giving up floor space, though you’ll top up more often and the capacity won’t keep up with a crowd.
Here’s the quick comparison:
– Lifting: bottled is heavy, bottleless is none, countertop is light
– Refill frequency: bottled every few days, bottleless never, countertop daily
– Ongoing cost: bottled is highest, bottleless is lowest over time
– Plumbing needs: only bottleless requires it
Think about who’s pouring and how often, and the right choice usually becomes obvious.
Features Worth Paying For (and Ones to Skip)
Dispensers come loaded with options, but only a handful change your day-to-day experience. Here’s where your money does the most good.
- Hot-water safety lock: A two-step lock on the hot tap is non-negotiable if kids or curious pets share your home.
- Self-cleaning or UV sanitizing: These cut down on scrubbing and help prevent that stale taste between deep cleans.
- Removable, dishwasher-friendly drip tray: A tray that lifts out easily means you’ll actually rinse it.
- Quiet operation: Look for a low-decibel rating, especially if the station lives near a bedroom or open-plan living area.
- Energy-saving mode: It cools or heats only when needed, which keeps your power bill in check.
- A finish that suits your decor: Matte black, brushed steel, or soft white can make it look like a design choice instead of an appliance.
- Skip the extras: Built-in LED mood lighting, touchscreens, and app connectivity add cost without improving the water.
Safety deserves a second thought here. Hot taps are a common source of household scalds, so make sure you keep hot liquids secured and out of little hands, and treat that lock as a must-have rather than a bonus.
If taste is your top priority, pairing a dispenser with a water filter system often does more for flavor than any fancy extra. Spend on the basics first, then add style on top.
Where to Put Your Water Station: Placement and Styling Ideas
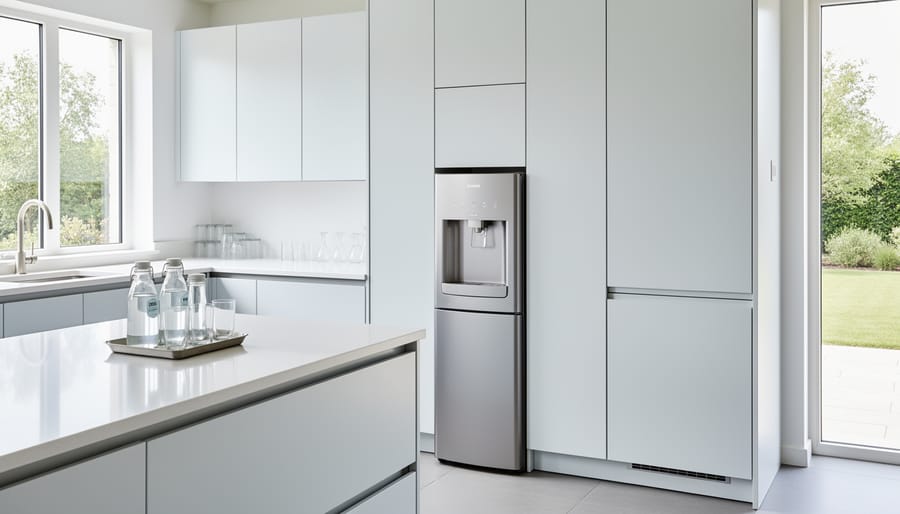
Best Spots Around the House (With Inspiration)
The best water station is the one that fits how your household actually moves through the day. Here are five spots worth considering, each with a little styling inspiration.
- Kitchen alcove: tuck the dispenser into an unused nook and add a slim floating shelf above for glasses, with a small under-cabinet light to make it feel intentional.
- Pantry-door niche: use the space beside the pantry for a countertop model on a butcher-block slab, with a woven basket for cups and a cord clip to keep wiring tidy.
- Home office corner: pair a compact unit with a ceramic mug tray and a plant, which keeps hydration within arm’s reach while you work.
- Hallway or entry bench area: set a tall dispenser against a wall with a narrow console beside it, and run the cord behind the console.
- Patio or garden room: choose a weather-sheltered spot with a washable mat underneath and a lidded bin for supplies.
Each location comes with a few things to watch. In the kitchen, confirm there’s a grounded outlet close enough that the cord never stretches across a walkway. In an office or hallway, leave a few inches of breathing room behind the unit so the back vents can release heat. For a patio or garden room, keep the dispenser out of rain and full sun, and bring it indoors or cover it during freezing weather.
When it comes to cord and hose concealment, a paintable cord cover or a simple cable channel along the baseboard works wonders. If your model uses a water line, a short run of neatly clipped tubing looks far cleaner than a loose loop dangling behind the unit.
Whichever spot you pick, set the station on a level, water-resistant surface so a stray drip never becomes a stain.
Spots to Avoid
Not every empty corner deserves a water station. A few spots look convenient on paper but quietly work against you, so skip these.
Direct sunlight. A window that bathes your dispenser in afternoon sun warms the reservoir and forces the cooling system to run harder. Warm water also tastes flatter, and sunlight can encourage algae in clear bottles. Keep the unit out of any sunny stretch, even a seasonal one.
Next to an oven, stove, or radiator. Heat from nearby appliances makes your cooler work overtime, which raises energy use and shortens its life. Leave a few feet between the dispenser and anything that gives off warmth.
Cramped corners. Most units need breathing room around the back and sides so heat can escape. Wedge one into a tight nook and it overheats, hums louder, and cools poorly. Check your manual for the exact clearance, and when in doubt, give it more space rather than less.
High-traffic doorways. Busy walkways invite bumps, spilled water, and tangled cords. A knocked bottle or a wet floor near an outlet is a real safety problem, especially with kids around. Choose a quieter spot where people can stop, pour, and move on without a pileup.
Tools and Materials to Gather Before You Start
Before you unbox anything, take five minutes to gather your supplies. Nothing derails a weekend project faster than discovering halfway through that you’re missing a level or have no way to sanitize the tank. Think of it as laying out your ingredients before you cook.
Here’s what to have on hand:
- For every setup:
- Your cooler or dispenser, plus its manual (keep it handy, you’ll want it)
- A small level to check the unit sits flat
- A measuring tape to confirm clearance around the unit
- Soft, lint-free cloths for wiping surfaces and drying parts
- Mild, unscented soap for the first wash
- White vinegar or a food-safe sanitizer for rinsing the reservoir
- A small tray or mat to catch drips and protect your floor or countertop
- A surge-protected outlet or power strip nearby
- Bottled models only:
- A full water bottle, ideally with a spare ready to swap in
- Plumbed models only:
- A water line kit with tubing and fittings
- A replacement filter cartridge, if your model uses one
- A small bucket and towels for any drips during hookup
Choose unscented soap on purpose. Fragrance clings to plastic and can leave your first few glasses tasting faintly of lavender, which is lovely in a candle and less so in drinking water.
If you’re going bottled, double-check that your bottle size matches the dispenser before you buy. Most home units take the standard five-gallon size, but compact models vary.
Safety First: Before You Plug In or Fill Up
A few minutes of caution now saves you a flooded floor or a trip to the urgent care later. Run through these checks before anything gets plugged in or filled.
Start with the hot tap. If your model dispenses hot water, switch on the child-safety lock right away and keep the unit out of easy reach of little hands. Hot water from a dispenser can scald in seconds.
Next, look at your cords and outlets. Never route a cord across a walkway where someone could catch a foot on it, and don’t set the unit where splashes or drips can reach the outlet. If the spot is near a sink or a damp area, use a properly protected (GFCI) outlet.
Then think about weight. A full five-gallon bottle weighs around 40 pounds, so make sure the floor or surface is solid and level. When lifting, bend your knees, keep the bottle close to your body, and avoid twisting. If it’s too heavy, ask for a hand.
If you’re connecting a plumbed model and a fitting drips, shut off the water supply and call a plumber, especially if you’re unsure about tapping into a line. Basic plumbing maintenance knowledge helps, but it’s no substitute for a pro when something feels off. Whenever you’re unsure about anything, stop and check the manufacturer’s manual first.
Step-by-Step: Setting Up Your Water Station From Box to First Glass
Here’s where the fun starts. Setting up a water station isn’t hard, but doing the steps in order saves you from leaks, funky tastes, and a cooler that never quite chills right. Here’s the sequence, whether you’ve got a bottled model or one that connects to a water line.
Unbox and inspect. Pull everything out and check for dents, cracks, or loose parts before you do anything else. Catching damage now means an easy return instead of a headache later.
Let the unit settle upright. If it traveled on its side, give it a few hours (check your manual for the exact time) before plugging in. A friend of mine skipped this on a Saturday-morning install and ended up with warm water and a grumbling compressor. The cooling fluid needs time to drain back where it belongs.
Position and level it. Put it in your chosen spot, leaving a few inches of breathing room on each side, then check it with a level. A wobbly unit hums louder and can drip.
Sanitize the reservoir and fittings. Wipe the inside with a cloth dampened with diluted white vinegar or food-safe sanitizer, then rinse well. Factory dust and packaging residue love to hide in there.
Connect the bottle or water line. For bottled models, seat the bottle firmly on the spout. For plumbed ones, attach the line kit and hand-tighten the fittings, watching closely for drips.
Fill and flush the first batch. Run a few cups through the tap and pour them out. This clears out leftover cleaner and any plastic taste.
Plug in and set temperatures. Use a surge-protected outlet, switch the unit on, and set your cold and hot preferences. Give it about an hour to reach full chill.
Style the surrounding space. Add a tray or mat, a few glasses, and maybe a small plant or tidy basket. This is the part that turns an appliance into a little hydration corner.
Resist the urge to rush the sanitizing and flushing steps. They take maybe ten minutes combined, and they’re the difference between water that tastes clean and water that tastes like a new shower curtain. If you’re curious about why clean, well-handled drinking water matters for everyday wellbeing, this overview of drinking water and your health is a handy read.
Once everything’s humming along, pour yourself a first glass and give it a proper taste test. It should be crisp, cold, and free of any odd flavor. If it is, you’re done, and your kitchen just got a lot more civilized.
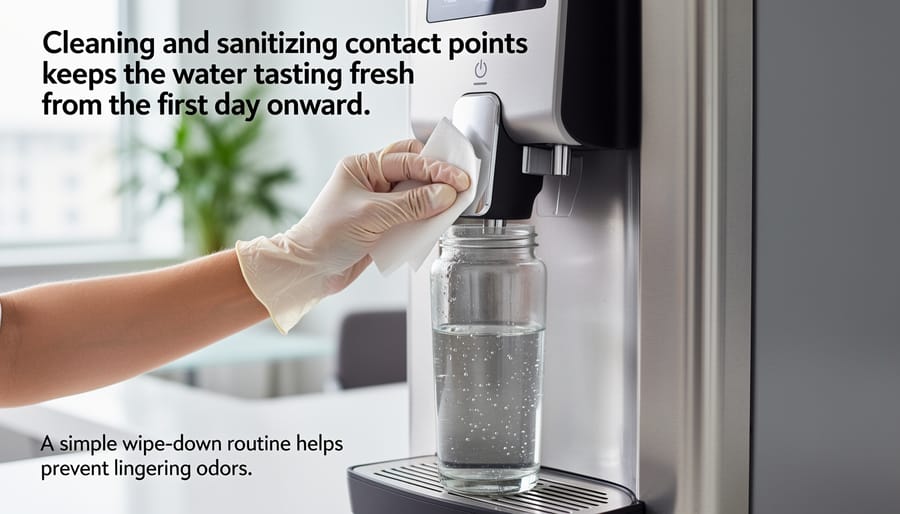
Keeping the Water Tasting Fresh Week After Week
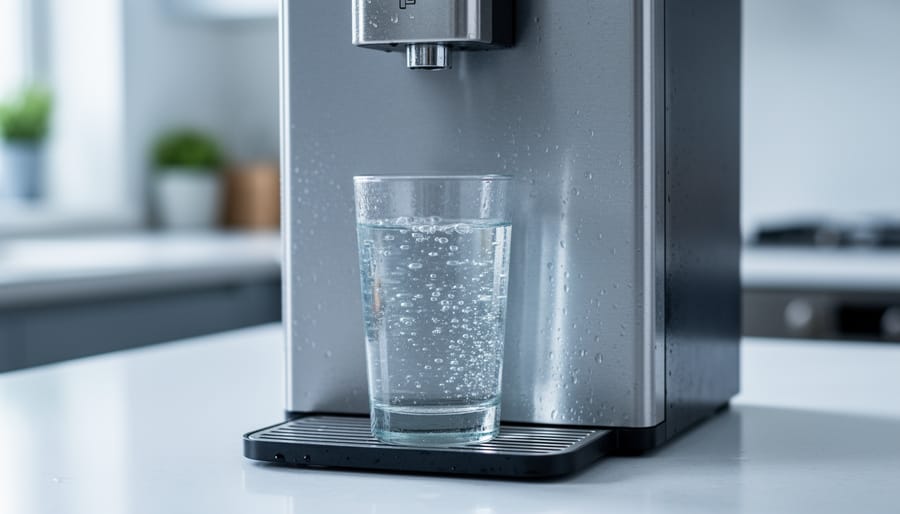
Troubleshooting Off Tastes and Odors
Even a well-kept station can start tasting a little off, and the cause is usually simple. Here’s a quick way to match the complaint to the fix:
- Plastic taste: Rinse the reservoir and spout with a vinegar-and-water mix, then flush two or three glasses through before drinking.
- Musty smell: Empty the drip tray, wipe the inside of the unit dry, and move it away from damp corners.
- Flat water: Swap in a fresh bottle, since water left sitting for weeks loses its crispness.
- Cloudy water: Let a fresh pour settle for a moment, and if the cloudiness stays, replace the filter cartridge.
Most of these clear up after one good cleaning, so it’s worth running through your maintenance routine before you assume something’s broken. A new unit can also carry a faint plastic note for the first day or two, which a thorough flush usually erases.
If a smell or odd taste sticks around after you’ve sanitized everything and changed the filter, check your manual or contact the manufacturer. Persistent off flavors can point to a worn part or a source-water issue that a rinse won’t fix.
Double-Check Your Setup: Verification and Next Steps
Before you call the setup done, run a quick final check. Pour from both the hot and cold taps and make sure each one delivers the temperature you expect. Give the cold side time to chill fully, since that can take a few hours. Then check the base with your level and listen for rattling or an unusually loud hum.
Leave a dry paper towel under the unit overnight. If it’s still dry after 24 hours, you’re leak-free. Next, pour a full glass and taste it. It should be clean and neutral, with no plastic or musty note. If something’s off, these clean water tips can help you track it down.
Finally, set phone reminders for filter changes and monthly cleanings so the routine sticks.
Once everything checks out, consider a few upgrades: a cup station, a small bar cart, or a reusable-bottle refill spot.
Home Water Station FAQs
Got questions? Here are the ones that come up most often when people set up a station at home.
How often should I clean my dispenser?A quick wipe of the spout and drip tray every week keeps things tidy, and a deeper sanitizing rinse every one to three months is a good rhythm. Your manufacturer’s manual has the exact schedule for your model, so follow that first.
Should I leave it plugged in when I’m away?For a weekend, it’s fine to leave it on. For a longer trip, unplug it, empty the tank or remove the bottle, and give it a rinse so nothing goes stale while you’re gone.
How much space does it need around it?Most units like a few inches of breathing room on the back and sides so the cooling system can vent. Check your manual for the exact clearance, and keep it clear of walls that trap heat.
Is bottled or filtered more cost-effective?Over time, a plumbed or filtered setup usually costs less per glass, since you skip buying and hauling jugs. Bottled wins on upfront simplicity, especially if you rent or can’t tap into a water line.
How long do opened bottles stay fresh?Check the label first, since guidance varies by brand. As a rule of thumb, aim to finish an opened bottle within a couple of weeks and keep spares somewhere cool and dark.
Staying hydrated is the whole point of this little corner, and if you want a refresher on why, this overview of water as a vital nutrient is a handy read. A well-kept station makes reaching for a glass the easy choice, which is exactly what you want in a busy home.
A great water station really comes down to four simple moves: choose a cooler that suits your household, place it somewhere level, shaded, and easy to reach, set it up carefully, and keep it clean on a steady schedule. None of it is complicated, and once the routine is in place, you’ll barely think about it.
Here’s the fun part. That little corner can be more than a utility spot. Add a tray in a finish you love, a few glasses on a pretty shelf, a small plant, or a warm bit of lighting, and suddenly a daily habit becomes a tiny design moment in your home. Guests will notice it, and your family will actually use it.
So skip the “someday” list. Pick your spot, gather your supplies, and give it a go this weekend. Fresh, cold water is closer than you think.