

The easiest way to use an Aroma rice cooker, is to add the desired amount of rice and water to the pot, close the lid, and press the cook button or select the appropriate cooking option for your rice type. However, it is not alays that simple. Even the most experienced cooks admit that cooking rice at times can be somewhat tricky. Fortunately, by learning how to use the Aroma rice cooker, anyone can kick the guesswork out of this artistic process and achieve accurate results. For the busy or bourgeoning home chef, a rice cooker simplifies and streamlines the art of conjuring one of the most revered and venerated dishes in the world.
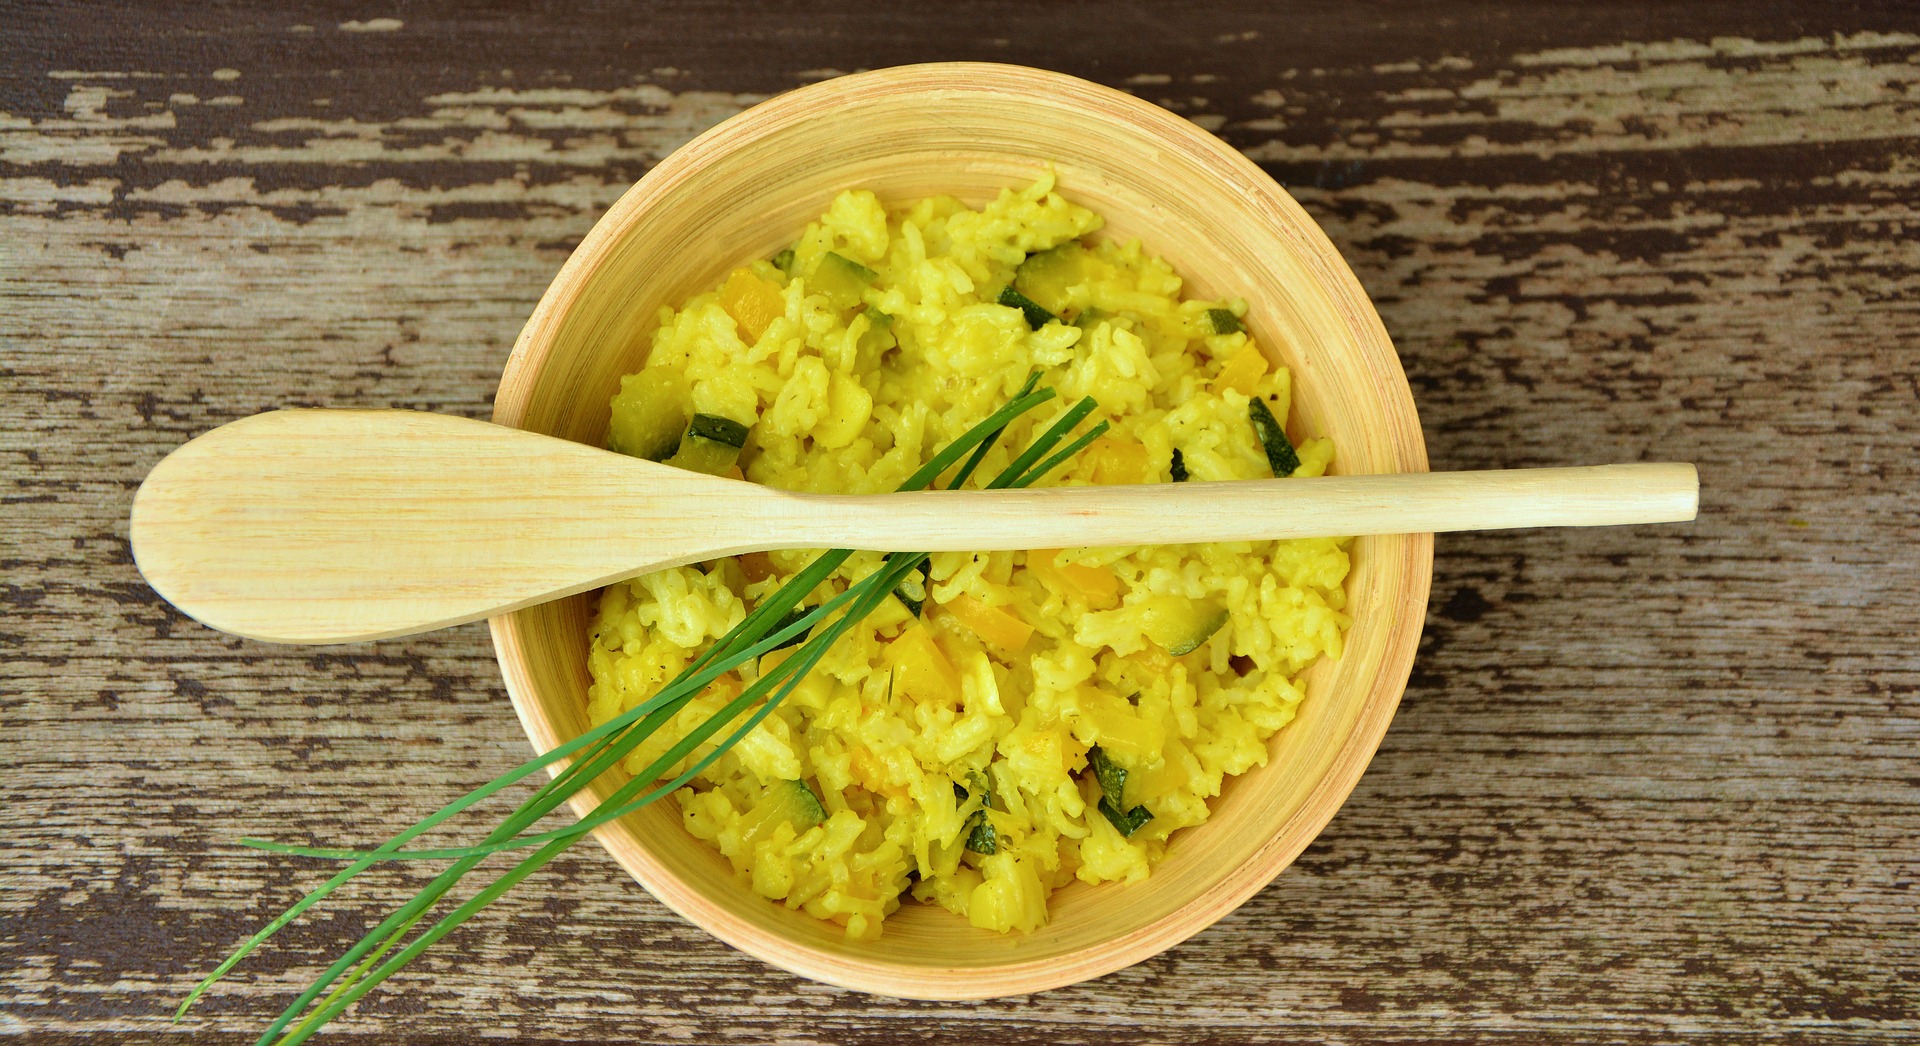
Therefore, whether you are jazzed up by basmati rice, or you are an ardent connoisseur of white rice, a rice cooker is one of the indispensable ingredients you need to cook rice to make your life easier. A rice cooker keeps all the ingredients within the rice rather than draining them down the sink when straining rice. Besides, a rice cooker is the ultimate cooking appliance that gives you the freedom and autonomy to focus on the rest of the meal. At the same time, it conjures delicious, aromatic, and fluffy rice.
Section 1: Using the Aroma rice cooker
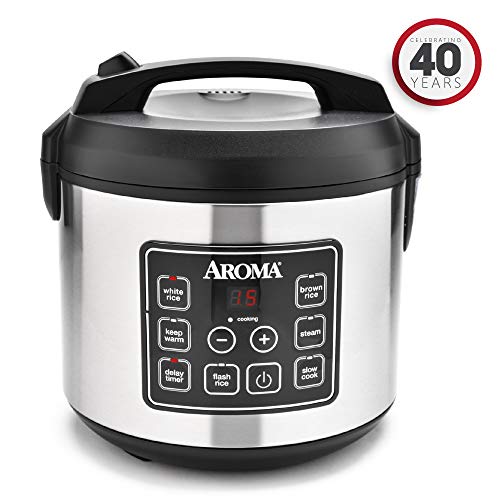
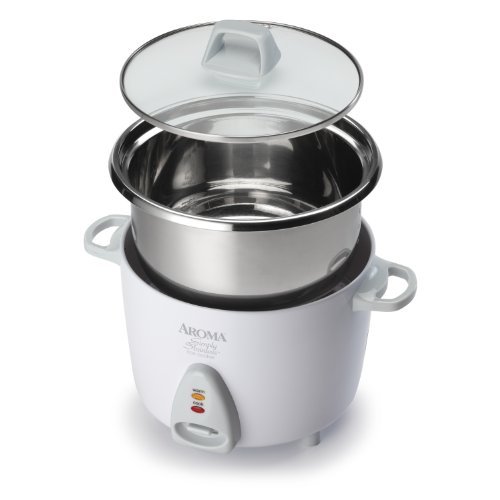
First and foremost, let me state that not all rice cookers are equal. In a world brimming with a wide array of cooking appliances, from low tech to high tech, the rice cooker you choose will significantly affect the quality of the process. You are reading this because you already have or are contemplating getting an Aroma rice cooker. By consumer reviews, it is one of the most popular and functional rice cookers in the market. Its time to delve into the main theme of this guide.
In what ways can you use the Aroma Rice cooker?
Unlike their mediocre counterparts, Aroma rice cookers are ideal for preparing healthy one-pot meals for your entire family. This implies that besides rice, the cooker is designed with several other capabilities. Some of them include but not limited to:
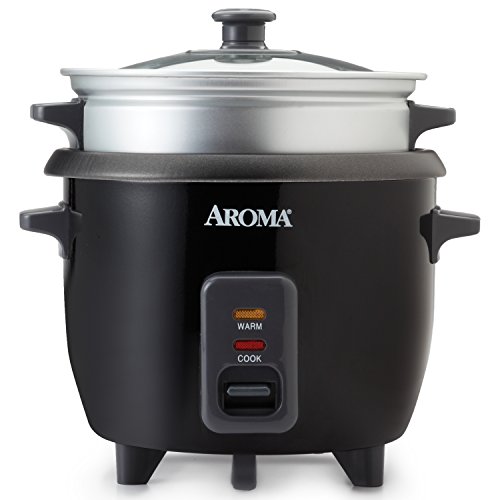
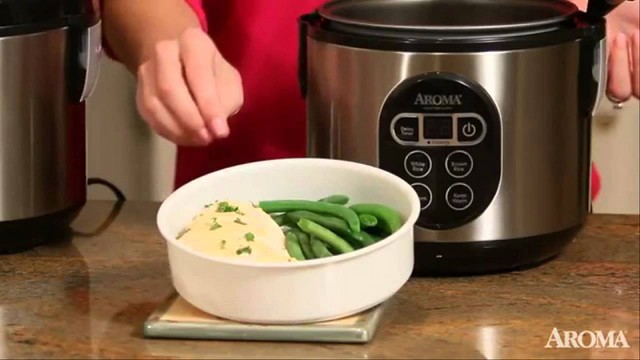
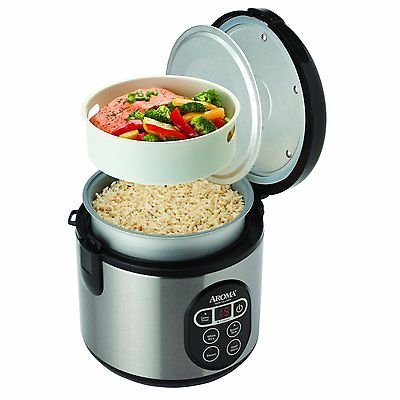
- Steaming: A tray insert directly above the rice allows you to cook moist, fresh vegetables, and meats in the same pot while cooking rice. Cooking food this way locks in essential flavors and nutrients.
- Sauté and Simmer. This will come in handy when preparing foods such as risottos, Spanish rice, packaged meats, and pilafs.
- Slow cook: This is a highly programmable function that adds an extra dimension of versatility on how you can cook your rice. It can be used for simplified slow cooking and searing at the same time in the same pot.
If not yet impressed, the functionalities don’t end there. You can also use your Aroma rice cooker to prepare stews, soups, dips, gumbos, and jambalaya. We just to mention a few.
Section 2: Cooking rice
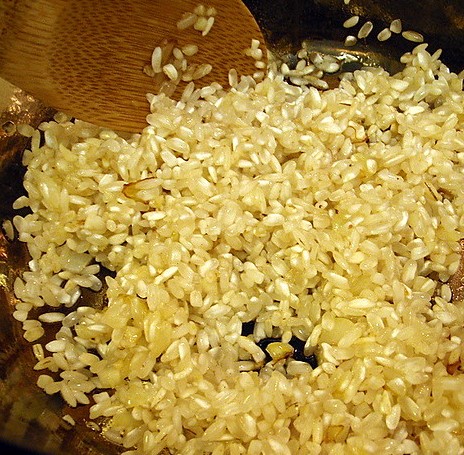
- Use the provided measuring cup, add rice to the inner cooking pot. Rinse rice to remove excess starch.
- Fill with water to the line, which matches the number of cups of rice being cooked. Place the inner cooking pot into the rice cooker.
- Using the provided measuring cup, measure rice and place it into the inner cooking pot.
- Rinse it off with water to get rid of excess starch and pesticides used to preserve the rice.
- Check the main pot to ensure that it is free of debris and dry before placing the inner cooking pot inside.
NB: placing the inner cooking pot into the rice cooker can potentially damage it.
- For extra flavor, you can substitute water with your favorite vegetable or meat stock/broth.
- Securely close the lid and plug in the cord to a power source.
- Press the “keep/power” button to start the rice cooker. Then depending on the type of rice, you are cooking press “brown or white rice.” Brown rice requires more time to cook, considering that it contains more bran layers on its grains.
- After a cooking indicator light illuminates, the rice will start cooking.
- A countdown will then begin—12 minutes for if you are cooking white rice and 25 minutes if you are preparing white rice. The cooker will then get into a keep warm mode until you are done preparing other meals.
After the rice is cooked, the cooker will produce a beeping sound and then automatically switch to “keep warm” mode. It will remain under this mode until you’ve switched it off to ensure that food is served hot.
For better results, it is advisable to stir the rice to distribute the remaining moisture evenly.
After serving the rice, turn off the cooker by pressing the power button twice then unplug the power cord.
Section 3: Using the delay timer/slow cook
The delay timer allows you to cook rice longer. This feature makes it possible to achieve different results when cooking your rice. This is how to use it.
- On your Aroma rice cooker, press the “DELAY TIMMER” button. For each press you make, the time is increased by an hour. For instance, pressing twice will increase cooking time by 2 hours.
- After making your selection, select whether you are cooking white or brown rice by pressing their respective buttons. The cooking indicator light will then illuminate, and the countdown will begin.
- A countdown will then begin from 12 minutes for if you are cooking white rice and 25 minutes if you are preparing white rice.
Section 4: Sautéing using the Aroma rice cooker
- Add ingredients to be sautéed/ browned to the inner cooking pot. Place the inner cooking pot into the rice cooker.
- Place the ingredients to be browned or sautéed inside the inner cooking pot, then insert it into the rice cooker.
- Plugin the power cord to a power outlet then press the power button to switch the cooker on.
- Press the “sauté button” on the rice cooker.
NB: Never use the spatula that comes with your rice cooker to sauté because it is not designed for use in high temperatures. Instead, use a safe heat spoon or a long wooden spoon.
- Use your heat-safe or wooden spoon, stir your ingredients to begin the Sautéing process until the ingredients reach the desired browning or sautéing level.
- Press the Keep warm/Power button to get into the keep warm mode. After you are done, turn off the cooker by pressing the power button twice then unplug the power cord.
Section 5: Steaming your ingredients simultaneously while cooking rice
As stated earlier, you can steam your ingredients while cooking your rice. This will save you precious time and cut down your power bill. Here’s how to:
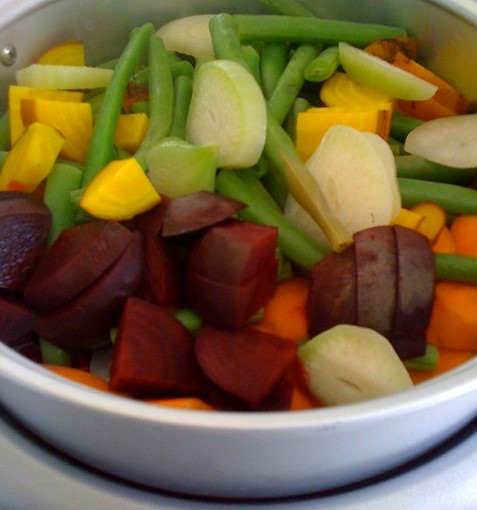
- Place your ingredients on the steaming tray.
- Cautiously open the rice cooker to avoid being burnt by the escaping steam.
- Place the tray on top of the rice and then close the rice cooker tightly to prevent the precious steam from escaping until everything is ready.
- Press the Keep warm/Power button to get into the keep warm mode. After you are done, turn off the cooker by pressing the power button twice then unplug the power cord.
NB: When you steam and cook your rice simultaneously, don’t get tempted to cook more than 8 cups of uncooked rice.
Steaming tips
- You can steam your ingredients at any given point during the rice cooking cycle. Even so, it is advisable to steam during the last cycle so that your steamed food doesn’t get cold before serving time.
- Do not overload the rice cooker when steaming and cooking rice. If you would to steam more ingredients, reduce the amount of rice to be cooked. This also applies when cooking a lot of rice. Just reduce the number of ingredients to be steamed if you would rather have more rice. Otherwise, you could end up damaging your rice cooker.
- The lesser ingredients you load on the steaming tray, the faster they will be ready. So if you just have a few vegetables, don’t let them remain on the steaming tray for long. On the other hand, if there are lots of ingredients to be steam, give them ample time.
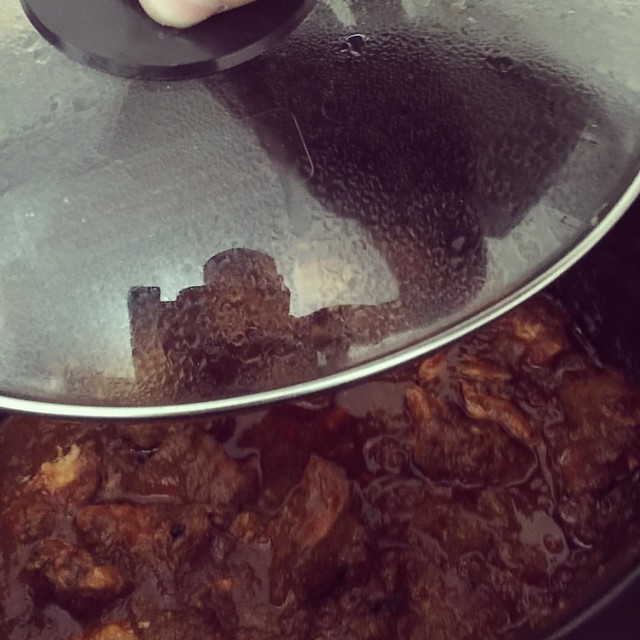
Section 6: Cooking soups and stews with your rice cooker
Contrary to popular belief, a rice cooker can be used to prepare soups. Think of it as a “holy Mary grill” type appliance that can solve all of your cooking problems.

- Add your soup-making ingredients into the inner cooking pot, place it inside the rice cooker, and tightly close the lid.
- Plug the rice cooker into a power source and switch it on by pressing the power button.
- Press the white rice button until the cooking light illuminates.
- Constantly open the rice cooker cautiously to avoid scalding by the hot steam and steam your ingredients.
- After getting the desired consistency, press the Keep warm/Power button to get into the keep warm mode. After you are done, turn off the cooker by pressing the power button twice then unplug the power cord.
Section 7: Cleaning the rice cooker
After you are done with all of your cooking endeavors, it is important to ensure that the rice cooker and all of its accessories are clean. This will prevent food from sticking on it. If left for long without being cleaned, stuck food can degenerate into stubborn stains, which will eventually disgrace the glamor of your cooker. To be on the safe side below is a step by step guide to safely and thoroughly cleaning it.
- Detach the steam vent then the condensation collector.
- Once detached, wash or soak the inside pot and all of its accessories in a dishwasher.
- Wipe the outer rice cooker with a damp clean cloth until it is clean.
NB: For the outer rice cooker, don’t immerse in water since it has electronic components which can be damaged if they come into contact with water.
Dry the rice cooker’s entire body and all of its accessories, assemble and store it safely for the next cooking session.
Section 8: Troubleshooting
When rice is too hard or dry after cooking
If the end product of your cooking antics is a hard, chewy or dry rice ice, you can correct the problem by adding more water and increase cooking time. This tactic should eventually soften the rice. Depending on how hard or chewy your rice is, add ½ to a full cup of water as you stir. It is advisable to begin with little water additions then scale up until you get the right consistency. Close the rice cookers lid and then press the “white rice button.” After the cooker gets to the “keep warm mode,” open the lid, stir the rice and check whether it has reached your preferred consistency. If not, repeat this process until the results are satisfactory. This is when the rice becomes soft and moderately moist.
When rice becomes too soggy or moist
If the rice is too watery or soggy after the rice cooker gets to the “keep warm” mode, use the provided serving spatula or any other serving spoon you deem fit (ensure that it is heat resistant) to stir the rice. This process will evenly distribute moisture by bringing the moistest rice at the bottom to the dryer top rice. If this doesn’t get rid of excess moisture, close the rice cooker’s lid and let it remain on the “keep warm” mode for 10 to 30 minutes depending on how moist it is. Frequently open the lid cautiously and stir the rice to allow excess moisture to escape.
Bottom line
By now, you are fully aware of what an Aroma Rice cooker can achieve. With this knowledge, it is time to up your cooking level knowing that you always have a companion to always take care of your rice, vegetables, and packaged meats as you concentrate on other meals. Besides saving time, its many features also allow you to experiment with many ingredients. So, even if you are a budding chef, rest assured that there is potential to become a master rice chef one day. You just need time!


There are so many typos and errors. It was painful.
Really need a cook book for my rice cooker
I purchased this to make Black Garlic. This requires the cooker to be on Warmer setting for 2/3 weeks. I started it up and sometime in the night
it automatically turned off (not sure how long it was on 6/8 hours)
I need it to say on continuously fir 2/3 weeks., How do I set it do to this and will it do this……