
Removing the water restrictor from a shower head involves disassembling the shower head, locating and removing the shower head flow restrictor, and then reassembling the shower head for improved water flow.
We have meticulously crafted a comprehensive breakdown of each individual step involved, allowing you to gain a thorough understanding and mastery of the intricate process required for removing the water restrictor from your shower head.
By presenting each step in a clear and methodical manner, we aim to provide you with a well-structured learning experience that empowers you to undertake the task yourself confidently.
Gather Your Tools and Materials
Before embarking on the process of removing the flow restrictor from your shower head, it’s essential to organize your workshop and ensure you have all the required tools and materials at your disposal. This initial step will set the foundation for a smooth and successful procedure. Here’s what you’ll need:
- Adjustable Wrench or Needle Nose Pliers: A versatile tool for gripping and turning, suitable for various tasks, including desk divider installation. It will be instrumental in safely detaching the shower head.
- Screwdriver (if needed): Depending on your shower head’s design, a screwdriver may be necessary to assist in disassembly.
- Teflon Tape (optional): This specialized tape helps create a watertight seal when reassembling the shower head, reducing the risk of leaks.
- Towel or Cloth: To protect your shower head’s finish and catch any residual water that may be released during the process, cover it with a towel or piece of cloth like how you would wrap furniture for moving.
By ensuring you have these tools and materials on hand, you’ll be well-prepared to navigate the subsequent steps with confidence and ease. Once you’ve gathered everything you need, you’re ready to proceed to the next phase of this tutorial, where we’ll delve into the specifics of dismantling the flow restrictor from your shower head.
Turn Off the Water Supply
With your tools and materials at the ready, the next crucial step in the process of removing the flow restrictor from your shower head is to turn off the water supply. This ensures a safe working environment and prevents any unexpected water flow during the procedure. Follow these steps to successfully turn off the water supply:
Locate the Water Shut-Off Valve
Find the water shut-off valve that controls the water supply to your shower. This valve is typically located near the shower area or in a utility room.
Turn Off the Water
Carefully turn the water shut-off valve clockwise to completely shut off the water supply to the shower. This step is essential to prevent water from flowing while you work on removing the shower head flow restrictor.
By taking the time to turn off the water supply, you create a controlled setting that allows you to focus on the task at hand without any unexpected interruptions. Once the water supply is safely turned off, you’re ready to proceed to the subsequent steps.
Remove the Shower Head
This step will provide you with access to the internal components of the shower head, including the flow restrictor. Follow these steps to remove the shower head effectively:
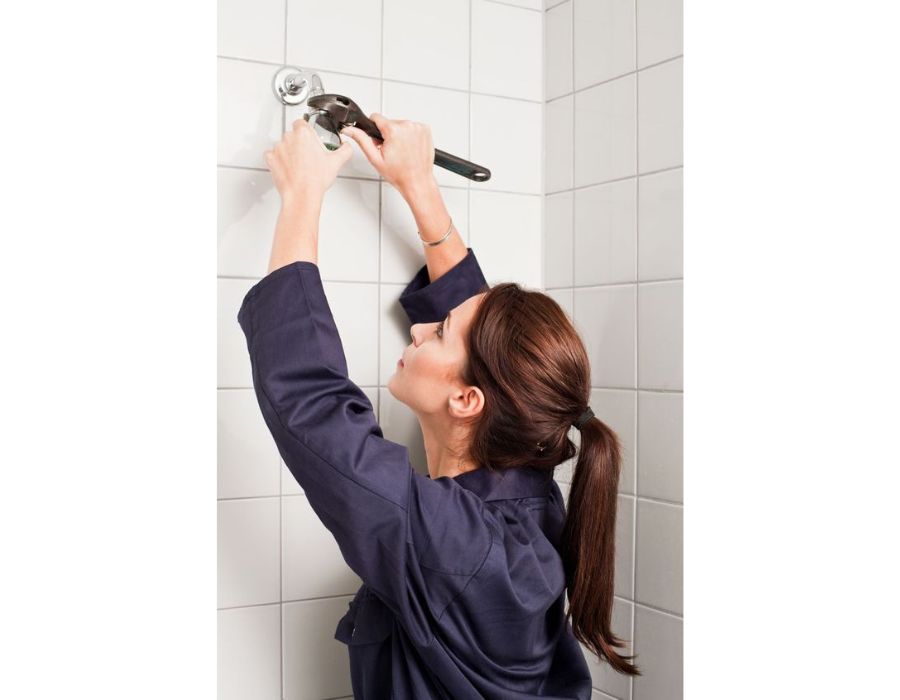
Use an Adjustable Wrench or Pliers
Grip the shower head firmly with one hand to prevent the shower arm from turning, and use an adjustable wrench or needle nose pliers with the other hand to carefully loosen the connection between the shower head and the shower arm. Turn the shower head counterclockwise to unscrew it from the arm.
Gently Remove the Shower Head
Once the shower head is unscrewed, gently detach it from the shower arm. Be cautious not to damage the threads or the shower head itself during this process.
Inspect the Connection
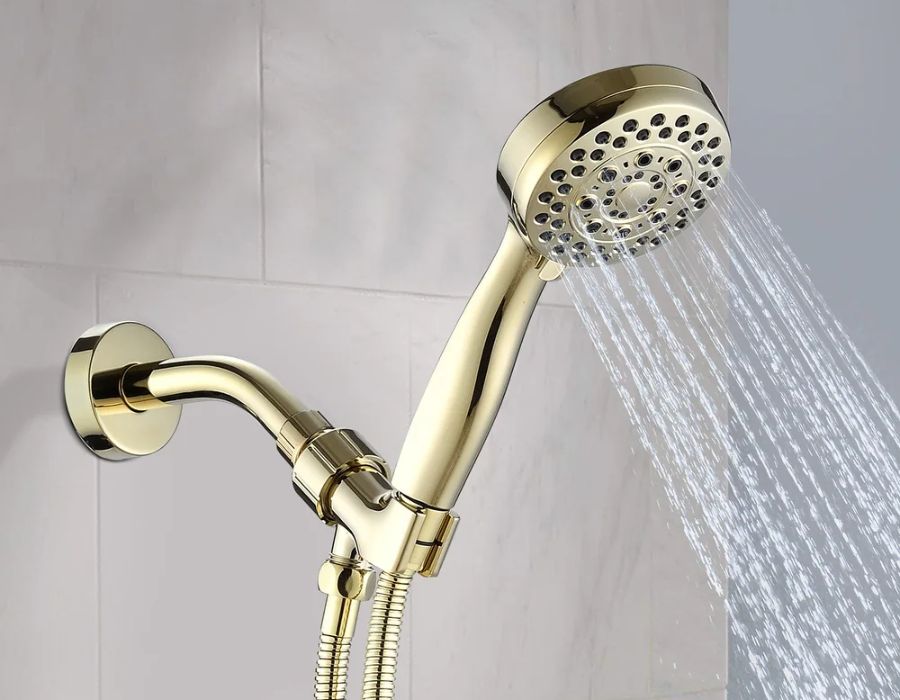
Take a moment to inspect the back of the removed head where it connects to the shower arm. You should be able to see the flow restrictor, which might appear as a plastic or rubber piece. It could be a flat disc or a small ring-like component.
Inspect the Shower Head
This step involves a careful examination to locate and understand the configuration of the flow restrictor. Follow these steps to effectively inspect the shower head:
Examine the Back of the Shower Head
Hold the removed showerhead with the nozzle facing downward. This will allow you to clearly see the back of the showerhead where it connects to the arm.
Note the Design
Observe the design and construction of the flow restrictor. Understanding its configuration will be helpful as you proceed to remove the restrictor from a shower in the next steps.
Keep your observations in mind as you move forward in this tutorial to ensure a successful removal process and a satisfying shower experience.
Remove the Water Restrictor
With a clear understanding of the water restrictor’s location and design, it’s time to move on to the pivotal step of actually removing it from the showerhead. Here’s how you can effectively remove a water restrictor from a shower:
Gently Pry Out the Restrictor
Depending on the design of the flow restrictor, you may be able to gently pry it out using your fingers. Start by applying light pressure to the edges of the restrictor and gradually work your way around it until it comes loose.
Use a Screwdriver
If the flow restrictor is firmly attached and cannot be easily removed by hand, you can use a small flat-head screwdriver. Insert the screwdriver between the flow restrictor and the shower head and carefully leverage it to loosen and remove the flow restrictor from most shower heads.
Handle with Care
Be gentle during this process to avoid damaging the shower head apparatus or its components. Take your time and exercise patience to ensure a smooth and successful removal.
Inspect the Removed Restrictor
After you remove the flow restrictor of your embedded or handheld showerhead, take a moment to examine it closely. Note its size, shape, and any markings for future reference.
Reassemble the Shower Head
Having successfully removed the water restrictor, it’s time to transition to the reassembly phase, where you’ll carefully put the handheld or embedded shower head back together to ensure proper functioning and water flow.
These are the steps to reassemble the showerhead:
Clean the Threads
Before reassembling, take a moment to clean the threads on both the shower head and the arm. Use a clean cloth or paper towel to wipe away any debris or residue from the filter screen.
Apply Teflon Tape
If you have Teflon tape on hand, you can wrap a few layers around the threads of the arm. This tape helps create a watertight seal and prevents potential leaks.
Attach the Shower Head
Hold the shower head with the nozzle facing outward and carefully align the threads with those of the arm. Gently screw the shower head onto the arm by turning it clockwise. Use an adjustable wrench or needle nose pliers to snugly tighten the connection. Be cautious not to overtighten, as this could damage the threads. While you’re at it, take a few minutes to thoroughly clean your shower head.
Turn On the Water for Your Shower Heads

With a shower head successfully reassembled, reintroduce flow and carefully test the system to ensure that the reassembly was effective and leak-free. Follow these steps to turn on the water and assess the results:
Gradually Open the Water Shut-Off Valve: Begin by slowly turning on the water shut-off valve that you previously closed. This controlled approach prevents sudden surges of water and allows you to monitor the situation closely.
Check for Leaks: As the pressure of the water increases, keep a vigilant eye on the area where the shower head connects to the arm. Look for any signs of leaks, such as dripping water or moisture around the connection. If you detect leaks, turn off the water supply and adjust the connection as needed before proceeding.
Test the Water Pressure
Now that the water supply is flowing and the showerhead has been reassembled, it’s time to evaluate the impact of the water restrictor removal by testing the pressure. This step allows you to fine-tune your shower experience to your desired level of comfort and efficiency. Test the pressure of shower heads by doing the following:
Adjust the Settings: If a fixed or handheld shower head has multiple spray settings, cycle through them to explore the different pressure options. This will help you determine which setting provides the most satisfying experience without compromising water conservation.
Assess the Water Flow: Stand under the shower and pay attention to the flow and pressure. Note any improvements in flow and pressure compared to before the removal of flow restrictors.
Adjust Only as Needed
Having tested the water pressure and experienced the effects of removing the water restrictor, you might find that further adjustments are necessary to achieve your ideal shower experience. This step encourages you to fine-tune the settings and explore additional options for customization.
Experiment with Different Settings
Continue experimenting with the various spray settings on your showerhead to find the one that best suits your preferences. Some settings may provide a gentler flow, while others offer a more intense and invigorating experience.
Consider Reinstalling a Modified Restrictor
If you find the pressure of the water to be too strong or excessive, you can explore the possibility of reinstalling a modified water restrictor. This can help strike a balance between water conservation and comfort.
By proactively adjusting and fine-tuning your settings, you’re tailoring your experience to meet your unique needs and preferences.
Conclusion
In summary, removing the flow restrictors from your showerheads can significantly enhance your daily shower experience by increasing flow and pressure of water, although expect to see a slight increase in your water bill.
While the process itself is relatively straightforward, it’s important to approach it with caution and care to avoid damaging your shower head or causing leaks. By following the step-by-step tutorial outlined above, you can successfully remove flow restrictors and enjoy a rejuvenating shower that invigorates your senses.


