

Clean-up. It’s nobody’s favorite.
Whether you are hosting a party or simply making dinner on a standard week night, the aftermath can make you want to curl up on the couch indefinitely.
Unfortunately, cleaning up is just as important as the fun stuff.
This is especially true when performing a home renovation. No matter how wonderful the new space turns out, it will never be able to shine behind a mountain of old drywall and sawdust.
With this in mind, keep reading as we explore the best strategies for efficient post-renovation clean-up, helping you make the most of your new space as quickly as possible.
Haul Off Large Debris
Before cleaning the new space can truly begin, all of the demolition waste must be out of the way. Examples include old drywall, concrete, insulation, flooring, and any other materials that have been torn out to make way for the new. Removing this large debris creates a safer, more maneuverable cleaning environment. Furthermore, it may bring other issues to light. Demolition debris could be hiding pests, standing fluids, or stains. The debris may also leave its own residue when hauled away.
It is highly advisable to rent a residential dumpster to streamline this process. It will save you countless trips to the dump. Having a roll-off in place also ensures that waste is properly disposed of and can save you the hassle of any unexpected dumping fees.
Contact Professionals As Necessary
Post-renovation clean-up may seem like a job that anyone can do. Just a little elbow grease and a can-do attitude. No fancy education or training required.
This is not entirely true.
There are some situations where a renovation unearths potentially toxic substances, such as black mold, VOCs, and/or asbestos. When this is the case, it is crucial to enlist professionals trained in handling these types of materials to limit the risk of both acute and long-term health problems.
In addition, there may be some types of messes that are just too difficult for a DIYer to handle. For example, any kind of liquid waste may need the help of a hydrovac service to safely remove. Large chunks of stone or concrete that are too heavy to lift by hand will likely need machinery operated by professional junk removal services.
Have All Tools and Cleaning Products in Place
If you determine that you are able to tackle post-renovation clean-up yourself, it is important to have all tools and cleaning products in place prior to beginning work. Some of the most important items to have available include:
- Vacuum with HEPA filter
- Dust masks, safety glasses, and gloves
- Trash bags
- Mop and bucket
- Microfiber cloths
- Damp cloths and sponges
- All-purpose cleaner
- Specialized cleaners
- Ladders and step stools
Having the correct arrays of cleaning gear on hand allows you to do the job right, without cutting corners or having to make frequent trips to the store.
Sweep and Vacuum

Now that all of the big stuff is out of the way and you have the tools to get down to the nitty gritty, sweeping and vacuuming is the first task to check off. Starting with dry cleanup is custodial 101. It prepares surfaces for more intricate cleaning. It guarantees that no “slurries” are created during wet cleanup. Make sure you use a good brush attachment to suck up any fine dust that may have settled into grout or other small crevices.
Tackle Any Stains
Once the dry matter is out of the way, prioritize removing any stains that you notice on surfaces. This could be from paint spatter, errant caulking, or really any other type of spill that happened during the renovation process. It is always best to get on stains ASAP before they have a chance to bed into the material. If you do, a wet cloth and/or all-purpose cleaner may be sufficient to lift them. If not, more specialized products, such as deep-penetrating concrete cleaner for breaking up grease and bringing it to the surface, may be required.
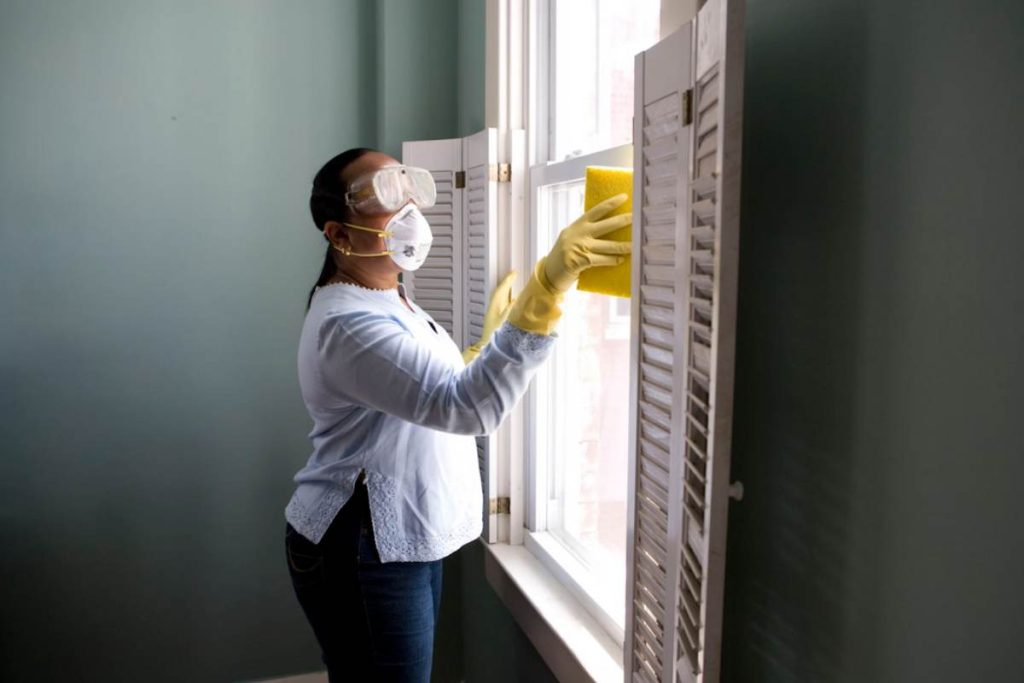
Clean Walls, Ceilings, and Windows
After any stains are gone, get to work on the elevated areas. Wipe down base boards, walls, and ceilings with a damp cloth to remove any microscopic dust particles that remain. Clean windows with an appropriate glass cleaner to get rid of streaks.
Mop the Floor

Most of the heavy lifting is done at this point. Mopping the floor is the final bulk cleaning item to tackle. Even if the floor is completely clear of all particles, a fresh mop just gives it that like-new sparkle. If your renovation includes a carpeted area, give it a shampoo at this time.
Address the Small Details
It’s time to get fastidious. Wipe down any knobs, fixture, or drawer pulls. Polish the brass railings. Seal the granite countertops. Put the new filter into the HVAC unit.
Bring in an Extra Set of Eyes

It never fails: the moment you have guests coming over to see your newly-renovated space, a glaring oversight catches your attention. You rush for the magic eraser, but it is too late. Avoid this awkward scenario by having a new set of eyes come in and assess your clean-up before you officially declare the project complete.
Leave No Trace with Efficient Post-Renovation Strategies
For any of life’s projects, cleaning up is just as important as the task itself. From streamlined removal of bulk debris to intricate attention to small details, consider the strategies listed above for the most efficient post-renovation cleaning possible. For more of the latest trends in renovation and home improvement, explore our content at Homewares Insider for additional thought-provoking reads!


